
To improve your gluten-free baking, focus on choosing the right flour blends like rice, sorghum, or buckwheat, and combine them for better flavor and structure. Incorporate sourdough for a richer taste and easier digestion, and adjust hydration to make the dough easier to handle. Use binders like xanthan gum or psyllium husk to mimic gluten’s strength. With patience and experimentation, you’ll discover techniques that lead to delicious, well-structured bread—if you keep exploring, you’ll find even more tips to perfect your skills.
Key Takeaways
- Combine diverse gluten-free flours like rice, sorghum, and tapioca to mimic gluten’s structure and enhance flavor.
- Incorporate gluten-free sourdough starters and extend fermentation for better rise and richer taste.
- Adjust hydration levels carefully; wetter doughs improve crumb but require handling adjustments.
- Use binders such as xanthan gum, guar gum, or psyllium husk to improve dough elasticity and bread texture.
- Store baked goods properly and keep detailed notes to refine techniques and achieve consistent results.

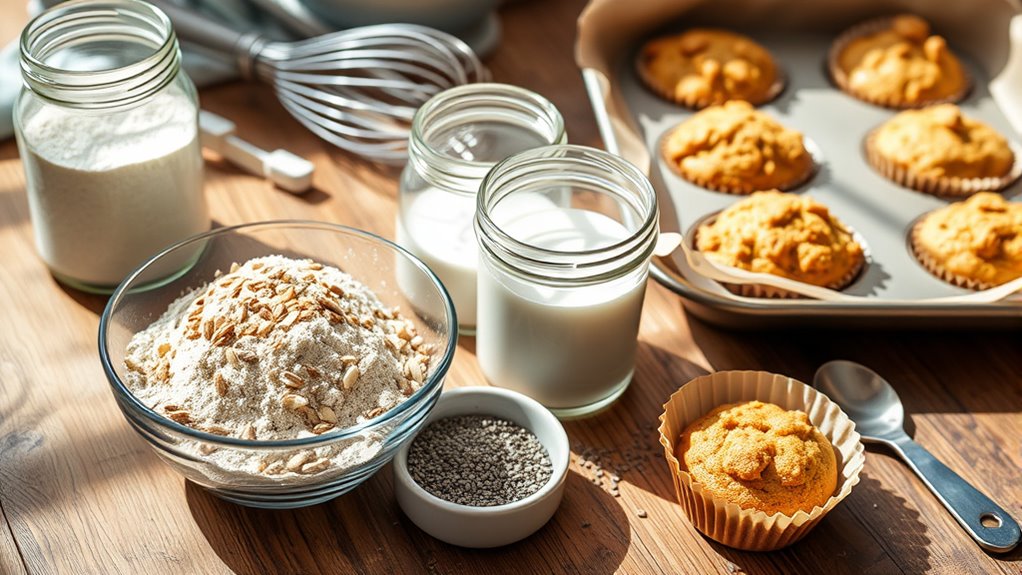
Steering the world of gluten-free baking can seem challenging at first, but with the right ingredients and techniques, you can create delicious treats that everyone will enjoy. When it comes to bread, mastering sourdough techniques is a game-changer. Traditional sourdough relies on gluten to develop its structure, but in gluten-free baking, you need to adapt these methods carefully. Start by selecting the right gluten-free flours—think rice, tapioca, sorghum, or buckwheat—each offering unique flavors and textures. Combining these flours will give your bread more structure and flavor, mimicking the elasticity gluten provides. You’ll also want to incorporate natural leavening agents, like gluten-free sourdough starters or fermentation, to develop complexity and improve crumb texture. Sourdough techniques involve longer fermentation times, which can help break down complex starches and proteins, making your bread easier to digest and more flavorful. Using a sourdough starter specifically crafted for gluten-free flours can also enhance the rise, crumb, and overall taste of your bread. Experimenting with different gluten-free bread types, from crusty baguettes to soft sandwich loaves, allows you to find what works best for your taste and needs. Each type demands specific hydration levels and baking times, so don’t be afraid to tweak recipes as you go. Hydration is key—gluten-free doughs tend to be stickier and wetter than traditional doughs, so adjusting water content can improve handling and final texture. When kneading or mixing, focus on developing a good batter consistency rather than elasticity, since gluten isn’t present to hold the structure. Additionally, incorporating binders like xanthan gum, guar gum, or psyllium husk helps mimic gluten’s elasticity and strength, giving your bread a better crumb and improved sliceability. It’s essential to let the dough rest and ferment adequately—patience pays off as gluten-free bread often benefits from longer proofing times, which develop flavor and texture. Proper storage techniques can also extend the freshness and quality of your baked goods. Remember, each gluten-free bread type has its nuances, so keep detailed notes of what works and what doesn’t. Over time, you’ll learn how different ingredients and techniques influence the outcome. With careful attention to sourdough techniques and an understanding of various gluten-free bread types, you’ll gain confidence in baking bread that’s not only tasty but also satisfying in texture. The key is to experiment, stay patient, and embrace the process—gluten-free baking is as much about learning as it is about enjoying the final product.
Frequently Asked Questions
Can I Substitute Gluten-Free Flour for All-Purpose Flour Equally?
You can’t substitute gluten-free flour for all-purpose flour equally because gluten-free flour substitutions often require adjustments. Gluten-free flours tend to have different textures and absorbencies, so you’ll need to tweak the recipe with binders like xanthan gum or psyllium husk. Typically, use a specific gluten-free flour blend as an all-purpose flour replacement, and expect to experiment a bit to achieve the right consistency and taste.
How Do I Prevent Gluten-Free Baked Goods From Being Crumbly?
Think of your baked goods as a delicate dance; to keep them from crumbling, add a binder like xanthan gum or psyllium husk to hold everything together. Using quality baking equipment guarantees even heat, preventing crumbly patches. Balance your gluten-free flavor by combining different flours for richness. With these tricks, your treats will stay firm and delightful, like a well-constructed symphony rather than a shaky performance.
What Are the Best Binders to Replace Gluten?
You should try alternative binding agents like xanthan gum, guar gum, or psyllium husk, which mimic gluten’s elasticity and hold your baked goods together. Natural thickeners like ground chia seeds or flaxseed meal also work well, providing moisture and structure. These options help prevent crumbliness and improve texture, so experiment to find the best binder for your recipes. Always start with small amounts and adjust as needed for ideal results.
Do Gluten-Free Baked Items Need Different Storage Methods?
Think of gluten-free baked goods as delicate butterflies—they need gentle care. You should use specific storage techniques, like airtight containers, to keep them fresh and prevent them from drying out. They often have a shorter shelf life than traditional baked items, so consume them within a few days or freeze for longer storage. Proper handling guarantees your treats stay flavorful and delightful, just like a butterfly in full bloom.
How Can I Improve the Texture of Gluten-Free Bread?
To improve the texture of gluten-free bread, you should experiment with your baking temperature and ingredients. Baking at the right temperature helps achieve a better crust and moist crumb. Incorporate ingredients like xanthan gum or chia seeds to enhance structure, and choose a flour blend that boosts gluten-free flavor. Additionally, avoid overmixing batter, and let the bread cool completely before slicing for ideal texture.
Conclusion
Remember, practice makes perfect when it comes to gluten-free baking. Don’t get discouraged if your first few attempts aren’t flawless—every mistake is a step closer to mastering it. Keep experimenting, stay patient, and trust your instincts. As the saying goes, “Rome wasn’t built in a day,” so enjoy the journey and celebrate your progress along the way. With time and perseverance, you’ll create delicious gluten-free treats that everyone will love!