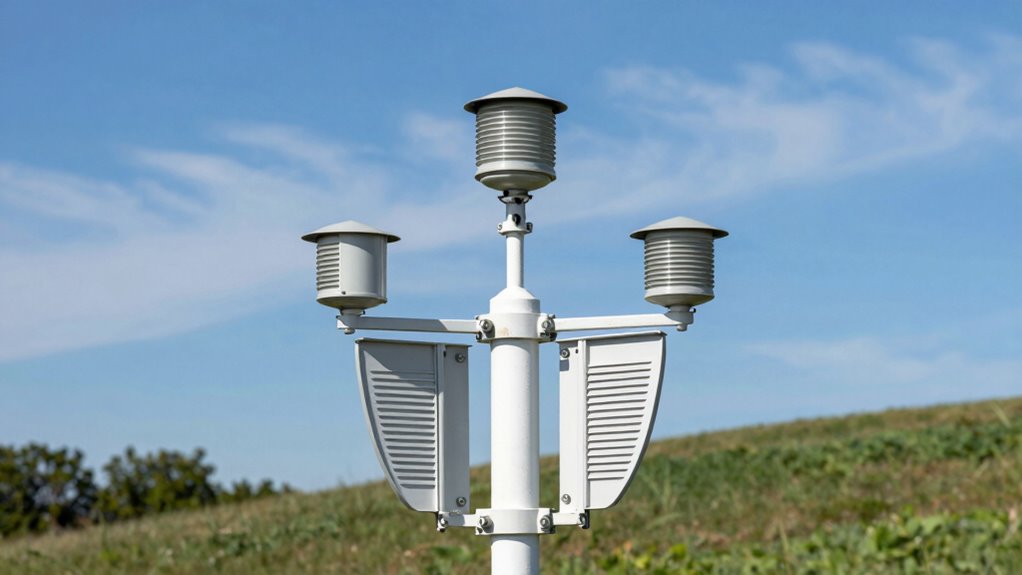

To get accurate data from your weather station, place sensors in open, unobstructed areas away from buildings, fences, or large trees that could block sunlight or airflow. Mount sensors about 4 to 6 feet high, elevated enough to avoid ground heat influences, and avoid direct sunlight or heat sources nearby. Secure them firmly to prevent movement or vibrations. For more tips on ideal placement and maintenance, keep exploring the best practices to guarantee reliable weather measurements.

Get travel and outdoor gear delivered free with Prime
- Fast, free delivery on millions of items
- Prime Video, Amazon Music and more included
- Member-only deals all year
Key Takeaways
- Mount sensors 1.5-2 meters above ground in open, unobstructed areas for representative air temperature and humidity readings.
- Avoid placing sensors near heat sources, reflective surfaces, or objects that block airflow or cast shadows.
- Secure sensors on stable mounts like poles or tripods, ensuring they are level and free from vibrations.
- Regularly inspect and recalibrate sensors to prevent drift and maintain data accuracy over time.
- Keep sensors away from direct sunlight, dense foliage, or structures that cause temperature anomalies or airflow disruptions.
weather station sensor mounting pole
As an affiliate, we earn on qualifying purchases.
As an affiliate, we earn on qualifying purchases.
Why Sensor Placement Is Critical for Accurate Weather Data

Proper sensor placement is crucial because even small differences in location can considerably impact weather readings. If your sensors aren’t correctly positioned, it can cause inaccurate data logging, leading to flawed analysis. Accurate measurements depend on proper sensor calibration, which ensures sensors respond correctly to environmental changes, but placement still plays an essential role. For example, placing a temperature sensor in direct sunlight can skew results, while shielding it from wind can cause data lag. Incorporating landscaping techniques around your sensors can further mitigate environmental influences, enhancing data accuracy. Consistent placement helps maintain reliable readings over time, reducing errors caused by external influences. When you position sensors thoughtfully, you ensure that calibration remains effective and data logging accurately reflects real weather conditions. Proper placement ultimately guarantees your weather station provides trustworthy, precise data. Additionally, monitoring indoor air quality is essential, as it can influence the overall accuracy of environmental data collected. Moreover, color accuracy in your readings can enhance the overall reliability of the measurements taken. Furthermore, using eco-friendly materials for sensor housing can help reduce the environmental impact associated with traditional materials, promoting sustainability in weather monitoring practices. In addition, understanding the concept of comparative advantage can inform decisions about resource allocation in sensor deployment.
As an affiliate, we earn on qualifying purchases.
How to Choose the Best Locations for Weather Sensors
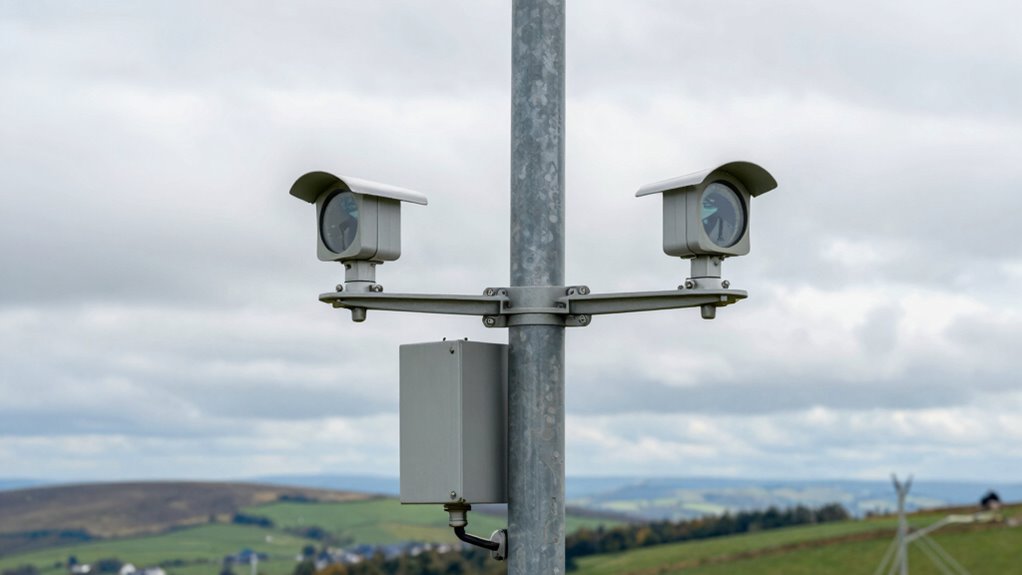
To get accurate weather readings, you need to pick locations free of obstructions and shadows that could block sunlight or wind. Make certain your sensors are installed at the right height—neither too low nor too high—to avoid false data. Choosing the right spot ensures your weather station provides reliable, consistent information.
Avoid Obstructions and Shadows
Choosing the right location for your weather sensors is essential, especially when it comes to avoiding obstructions and shadows that can skew readings. Shadows cast by nearby objects or structures can affect temperature and solar radiation data, making sensor calibration inaccurate. Obstructions like trees, buildings, or fences block airflow and alter wind speed measurements. To guarantee accurate data logging, place sensors where airflow isn’t hindered, and shadows are minimal throughout the day. Additionally, understanding digital concepts can help you make informed decisions about sensor placement. For instance, analyzing data accuracy is crucial in ensuring that your readings are reliable. Implementing smart lifestyle tips can also enhance your focus when choosing optimal sensor locations. Use this table to identify suitable placements:
| Obstruction Type | How to Avoid It |
|---|---|
| Trees | Keep sensors clear of branches and foliage |
| Buildings | Mount sensors away from walls and overhangs |
| Fences | Position sensors where airflow isn’t blocked |
Maintain Proper Elevation
Selecting the right elevation for your weather sensors guarantees you get accurate and consistent readings. Place sensors at a height where they’re not affected by ground heat or cooling, typically about 4 to 6 feet above ground. Proper elevation helps assure reliable sensor calibration and reduces errors caused by nearby objects or uneven terrain. Avoid placing sensors too high, which can cause wind interference, or too low, where surface heat affects measurements. Consistent elevation improves data logging accuracy, making it easier to compare readings over time. Regularly check the sensor’s mounting height and position, especially after weather events or ground shifts. Proper elevation not only enhances data quality but also prolongs the sensor’s lifespan, giving you dependable weather data. Additionally, understanding DIY tool safety can help ensure that your mounting process is secure and effective.
accurate temperature humidity sensor
As an affiliate, we earn on qualifying purchases.
As an affiliate, we earn on qualifying purchases.
What Are the Ideal Heights for Mounting Weather Sensors?
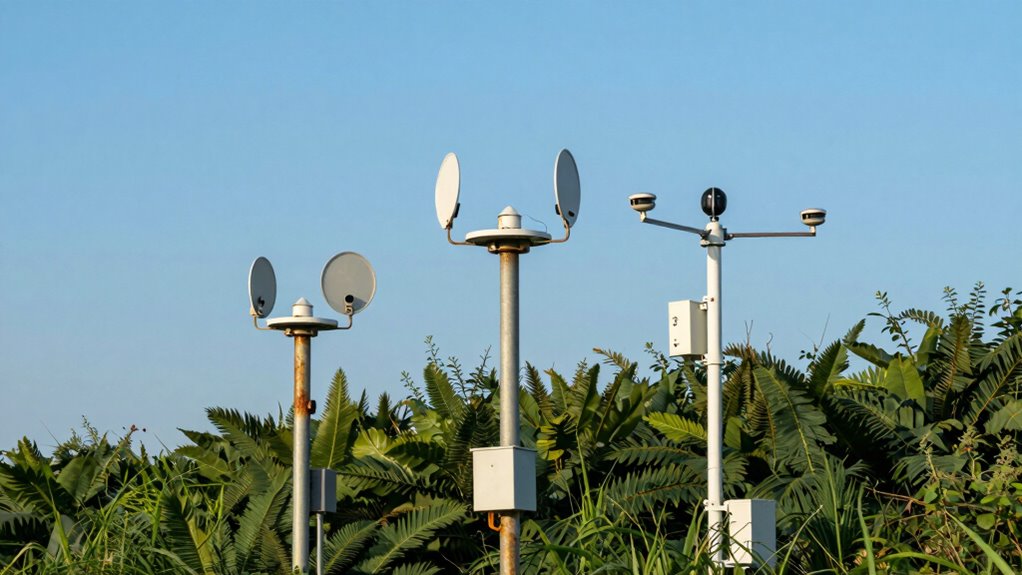
Understanding the ideal height for mounting weather sensors is essential to obtaining accurate and reliable data. Generally, sensors should be placed about 5 to 6 feet above ground to guarantee proper sensor calibration and consistent data logging. This height minimizes the effects of ground heat, surface friction, and localized obstructions. Positioning sensors too low can lead to inaccuracies caused by vegetation, buildings, or other obstructions, while mounting them too high may expose them to turbulence and inconsistent airflow. Maintaining the proper height helps you capture representative atmospheric conditions, improving data quality over time. Additionally, small wood stoves can benefit from similar considerations in sensor placement to ensure effective monitoring. Remember, consistent sensor placement is key for reliable data logging and meaningful weather analysis. Furthermore, incorporating wood-fired cooking methods can enhance your outdoor experience by providing a reliable heat source for food preparation. Additionally, using Bosu balance training can enhance your understanding of stability, which is crucial in sensor placement. It’s important to note that proper sensor placement techniques can significantly impact the quality of the data collected. Adjustments might be needed depending on your specific site conditions for ideal results.
weather station sensor calibration kit
As an affiliate, we earn on qualifying purchases.
As an affiliate, we earn on qualifying purchases.
How to Mount Sensors Away From Obstructions and Interferences

To guarantee your weather sensors provide accurate readings, it’s crucial to mount them away from objects that can cause interference. Obstructions like buildings, fences, or large trees can block airflow and distort data. Make sure your sensors are placed in open areas for proper air circulation, which helps with sensor calibration and consistent data logging. Avoid placing sensors near metal surfaces or electronic devices that emit electromagnetic interference. Elevate sensors to the recommended height, keeping them clear of ground-level obstructions. Regularly check for debris or obstructions that may affect readings. Proper mounting minimizes interference, ensuring accurate, reliable data collection. This setup helps maintain sensor integrity and the quality of your weather data over time. Additionally, ensuring good indoor air quality can further enhance the performance of your sensors by reducing contaminants that may affect readings. For instance, sensors situated in open areas for airflow can significantly improve data accuracy by minimizing the influence of surrounding structures.
Where to Position Sensors Near Buildings and Trees for Optimal Readings
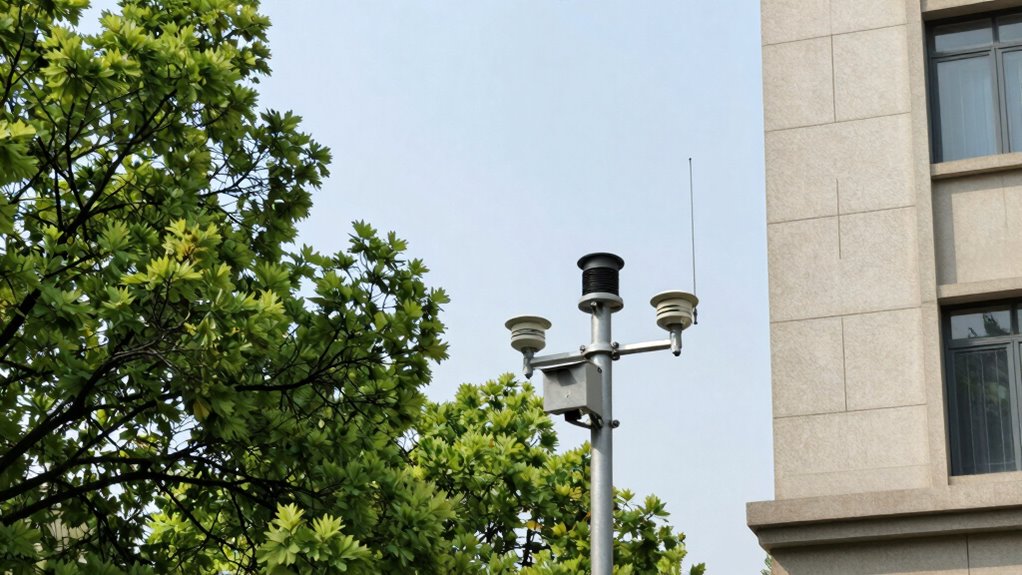
Positioning sensors near buildings and trees requires careful consideration to guarantee accurate readings. Place sensors at least a few meters away from walls and dense foliage to avoid temperature and airflow disturbances that can skew data. Ensure the sensors are in a shaded spot to prevent direct sunlight from affecting temperature measurements, which is crucial for proper sensor calibration. Elevate the sensors to a height of 1.5 to 2 meters to capture representative air conditions. Consistent placement improves data logging accuracy over time, reducing anomalies caused by local obstructions. Regularly check and calibrate sensors to maintain precision, especially after environmental changes or extreme weather. Proper positioning near buildings and trees ensures your weather station collects reliable, meaningful data for analysis. Additionally, consider the impact of urban heat islands on temperature readings, as they can significantly affect local weather patterns. To enhance the durability and lifespan of your sensors, consider investing in high-quality car protection to shield them from harsh environmental elements. Practicing self-care as a caregiver can also help maintain focus and ensure that you are attentive to sensor monitoring. Sensors should be monitored continuously to identify potential cybersecurity vulnerabilities, which can compromise data integrity and accuracy. Understanding the effects of various brewing methods can also shed light on how temperature influences different materials used in sensor construction.
Tips for Installing Sensors on Different Surfaces and Mounts

When installing sensors on different surfaces, you need to take surface compatibility into account to ensure accurate readings. Using the right mounting techniques helps keep sensors secure and stable, even in adverse conditions. Pay attention to the material and texture of the surface to choose the best mounting options for your weather station. Additionally, understanding industry trends can inform your choices for optimal sensor placement. Implementing effective soundproofing techniques in your setup can also minimize external noise interference, enhancing the accuracy of your readings. Furthermore, the integration of AI-driven analytics can provide deeper insights into sensor data, improving overall performance.
Surface Compatibility Considerations
Have you ever wondered how the surface beneath your weather sensor can impact its performance? Different surfaces influence readings, especially for soil moisture and wind turbulence. For example, placing a sensor on uneven ground can cause inaccurate soil moisture data. Smooth, stable surfaces help reduce wind turbulence, ensuring better wind speed readings.
| Surface Type | Consideration |
|---|---|
| Bare soil | Check for soil moisture accuracy; avoid compacted or loose soil. |
| Grass or vegetation | Ensure it’s trimmed; tall grass can interfere with wind measurements. |
| Hard surfaces | Use stable mounts; avoid vibrations that skew data. |
Choosing the right surface guarantees your sensors deliver reliable, precise data.
Secure Mounting Techniques
Ensuring your weather sensors are securely mounted is key to obtaining accurate data, no matter the surface. Use appropriate mounts that suit the material—whether it’s a pole, wall, or tripod—so the sensor stays stable. Tighten fittings without over-tightening, which can damage the device. Regularly check and recalibrate sensors to maintain accuracy, especially after mounting or adjustments. Proper mounting minimizes vibrations and movement, vital for reliable data logging. When installing on uneven or flexible surfaces, consider using vibration-dampening mounts. Secure wiring properly to prevent disconnections that could affect sensor readings. Consistent, stable mounting guarantees your sensors perform at their best, providing precise data and reducing the need for frequent recalibration. This foundation is indispensable for accurate weather monitoring.
Common Sensor Mounting Mistakes to Avoid
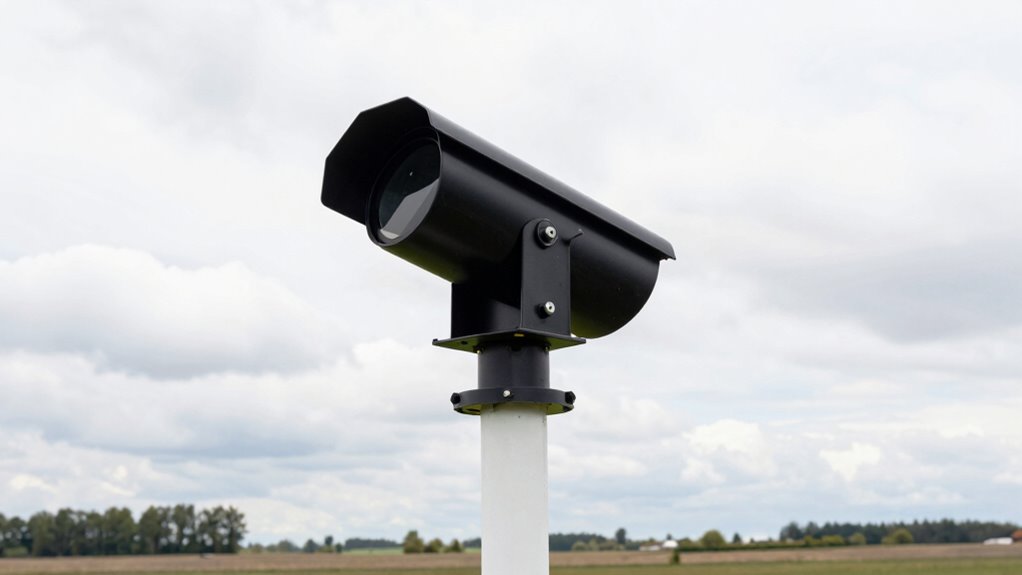
Incorrect sensor mounting is a common mistake that can substantially impact the accuracy of your weather station readings. If sensors are mounted too high or too low, in direct sunlight, or near obstructions, it skews data logging and affects sensor calibration. Avoid placing sensors in sheltered areas where airflow is limited, as this can lead to inaccurate temperature and humidity readings. Mounting sensors on unstable or vibrating surfaces causes inconsistent data. Also, neglecting to regularly check sensor placement can introduce errors over time. Proper mounting guarantees that sensors are exposed to representative environmental conditions, maintaining data integrity. By paying attention to correct placement, you prevent inaccuracies that might result from poor calibration, and you ensure your weather station provides reliable, actionable data.
How to Maintain Sensor Accuracy Over Time
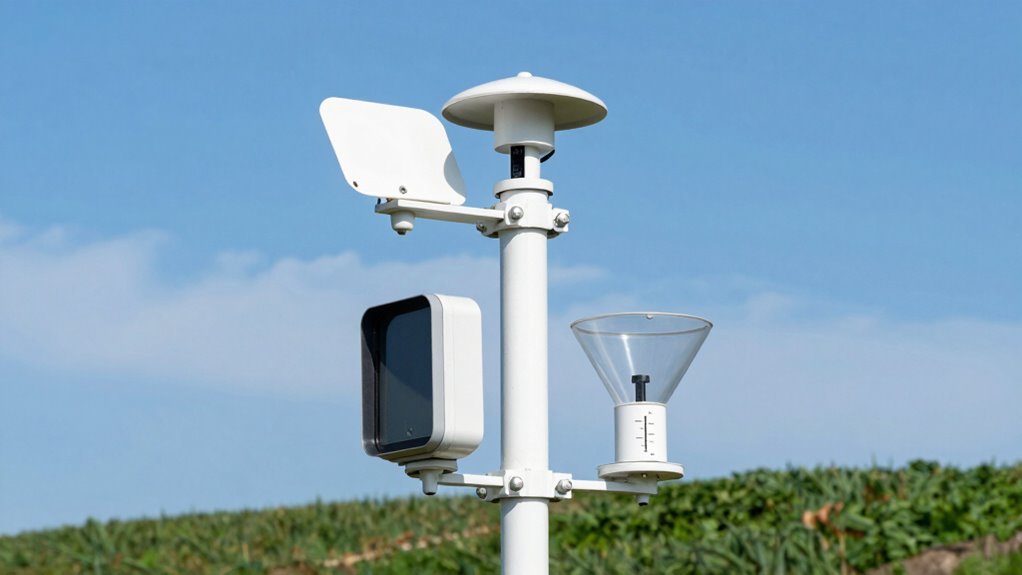
Regular maintenance is essential to keep your weather station sensors accurate over time. One key step is periodic sensor calibration, which corrects drift and guarantees measurements stay precise. Follow manufacturer guidelines for calibration frequency and procedures. Consistent calibration prevents data inaccuracies caused by aging or environmental factors. Additionally, monitor your data logging regularly to identify anomalies or inconsistencies that may signal sensor issues. Keeping detailed logs helps track sensor performance and calibration dates, making it easier to schedule maintenance. Clean sensors gently to remove dirt, dust, or debris that can affect readings. Protect sensors from extreme weather and direct sunlight. Proper upkeep, including calibration and diligent data logging, ensures your weather station provides reliable, accurate data over the long term.
How Proper Sensor Placement Improves Climate Data Reliability
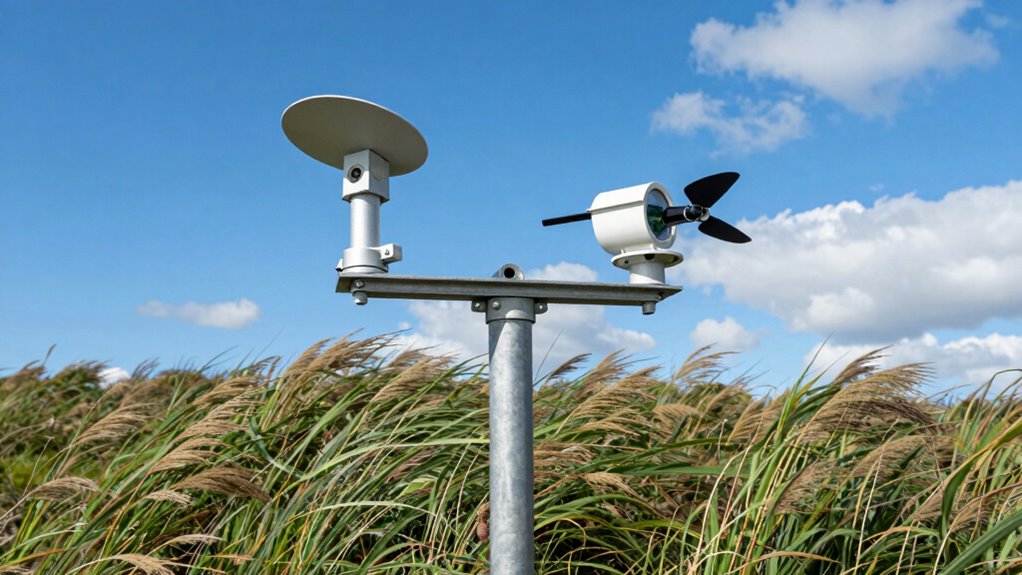
Proper sensor placement is crucial because it directly impacts the accuracy and reliability of your climate data. When sensors are correctly positioned, you guarantee consistent data logging, which provides a true reflection of environmental conditions. Avoid placing sensors in direct sunlight or near heat sources, as this skews temperature readings. Proper placement also makes sensor calibration easier, reducing errors caused by external influences. Secure mounting prevents movement that could compromise data integrity. Well-placed sensors capture more representative readings, improving the overall quality of your climate data. This accuracy is essential for making informed decisions or conducting research. By prioritizing placement, you maximize sensor effectiveness and ensure your data remains trustworthy over time.
Frequently Asked Questions
How Does Local Terrain Affect Weather Sensor Accuracy?
You should know that local terrain impacts weather sensor accuracy through altitude effects and vegetation interference. Higher altitudes can cause temperature and pressure readings to vary from those at sea level, leading to inaccuracies if not calibrated properly. Dense vegetation nearby can block sensors or influence humidity measurements. To get precise data, mount sensors where they’re shielded from obstructions and at an ideal elevation, avoiding areas with heavy vegetation or extreme altitude changes.
What Are the Best Practices for Mounting Sensors in Urban Areas?
In urban areas, you should mount sensors at standardized heights—typically around 1.5 to 2 meters—to guarantee consistent data. Keep sensors away from obstructions like buildings and trees to avoid turbulence and heat reflection. Regularly perform sensor calibration and follow maintenance protocols to maintain accuracy. Position sensors in open, shaded areas to prevent direct sunlight and heat interference, guaranteeing reliable weather data collection.
How Do Weather Conditions Influence Sensor Placement Decisions?
Imagine the weather as a restless artist, constantly changing its mood; this influences your sensor placement. You need to take into account wind, rain, and sunlight, which can skew sensor calibration and disrupt data logging. Place sensors where they’re shielded from direct elements but still capture true conditions. Adjustments ensure your data reflects reality, making your weather station a reliable storyteller of atmospheric shifts rather than a biased narrator.
Can Sensor Placement Impact Long-Term Data Consistency?
Yes, sensor placement impacts long-term data consistency because poor positioning can cause drifting readings over time. To maintain accuracy, you should regularly check calibration frequency and guarantee sensors are protected from environmental factors. Also, consider power supply options that provide stable, continuous energy—like solar panels or reliable batteries—so your sensors function properly over the long term, reducing data variability caused by power issues or placement-related drift.
What Safety Considerations Are Important When Installing Sensors Outdoors?
When installing sensors outdoors, you must prioritize safety to prevent damage or injury. Shield your sensors with appropriate shielding to protect them from weather and vandalism. Securely mount sensors out of reach to prevent vandal prevention, avoiding areas prone to falling debris or high winds. Always wear safety gear, and guarantee your installation site is stable and accessible, reducing risks while safeguarding your equipment’s accuracy and longevity.
Conclusion
Think of your weather sensors as the eyes of your climate story. When placed thoughtfully, they reveal the truth behind the skies, guiding your decisions with clarity. Proper placement isn’t just a technical detail; it’s the foundation of trust in your data. By respecting these principles, you guarantee your measurements stay true, like a lighthouse guiding ships safely home—reliable, steady, and ready to illuminate the path ahead.
Halloween Picks
halloween
As an affiliate, we earn on qualifying purchases.