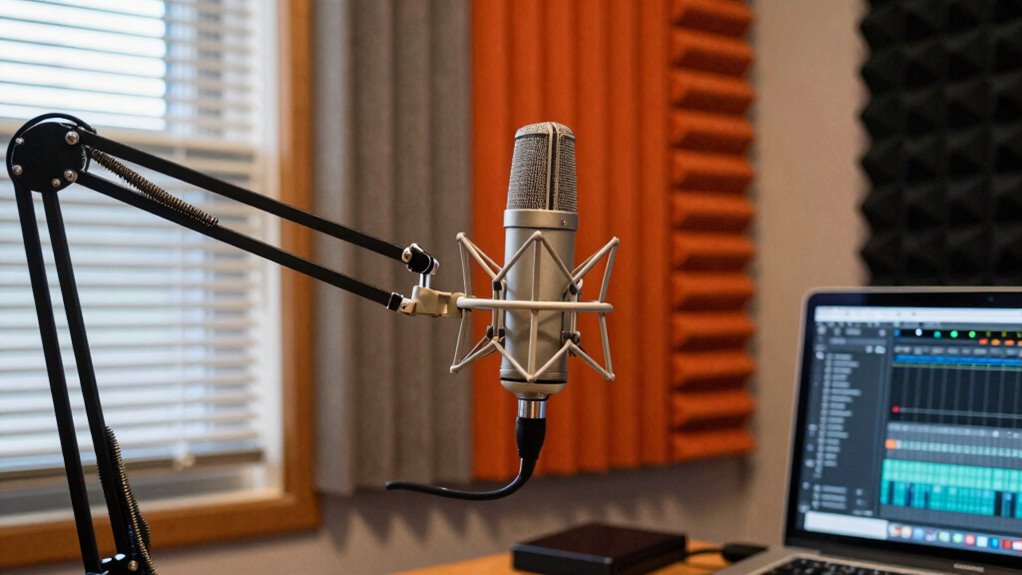
To sound like a pro in your home studio, focus on proper mic placement and acoustic treatment. Choose the right microphone for each task, position it close for clarity, and experiment with angles and distances to find the sweet spot. Use accessories like pop filters and acoustic panels to improve sound quality. Fine-tuning your setup and troubleshooting issues can transform your recordings. Keep exploring these tips to reveal your ideal sound.
Key Takeaways
- Position your microphone 6-12 inches from the vocalist or instrument, slightly off-axis to reduce plosives and improve tone.
- Use pop filters and windscreens to minimize unwanted noise and protect against breath sounds.
- Place acoustic treatments like panels and bass traps to reduce room reflections and dead spots.
- Experiment with mic distance and angle to find the “sweet spot” for clarity and warmth.
- Keep cables organized and check connections to ensure clean, noise-free recordings.
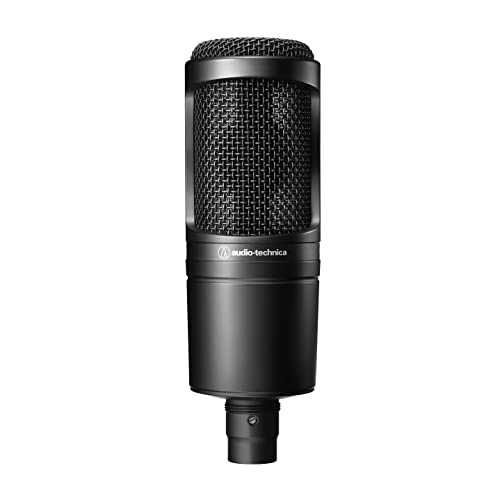
Audio-Technica AT2020 Cardioid Condenser Studio XLR Microphone, Ideal for Project/Home Studio Applications, Black
- Price/performance standard: Side address studio condenser mic
- Application suitability: Ideal for project/home studios
- Sound handling: High SPL and wide dynamic range
As an affiliate, we earn on qualifying purchases.
As an affiliate, we earn on qualifying purchases.
How to Choose the Best Microphone for Your Home Studio

Choosing the right microphone is essential for capturing the best sound in your home studio. Understanding microphone technology helps you pick the best type for your needs, whether it’s dynamic, condenser, or ribbon mics. Each has unique features suited to different recording scenarios. For example, condenser microphones excel at capturing detailed vocals, while dynamic mics are great for loud instruments. Your choice also depends on your recording software, which can influence compatibility and setup. Consider your budget and the sound you want to achieve, then research microphones that fit within that range. Investing in a quality mic tailored to your recording software guarantees clearer recordings and smoother workflow. Additionally, accurate measurements are crucial for achieving consistent sound quality. With the right microphone, you’ll get professional results without leaving your home. Additionally, understanding how clocks and time influence sound perception can enhance your recording techniques. Exploring regional flavors in sound can inspire creative approaches to your recordings. Furthermore, being aware of digital content trends can help you adapt your recordings to the evolving landscape of media consumption. To complement your microphone choice, consider investing in quality coffee gear to stay energized during long recording sessions.

Focusound 52 Pack Acoustic Foam Panels 1" x 12" x 12" Sound Proof Foam Panles Soundproofing Noise Cancelling Wedge Panels for Home Office Recoding Studio with 300PCS Double-Side Adhesive
- Soundproofing Design: Triangular grooves for noise absorption
- Includes Adhesive Tape: 300pcs double-sided adhesive for easy installation
- Easy Shape Recovery: Reforms after soaking in water
As an affiliate, we earn on qualifying purchases.
As an affiliate, we earn on qualifying purchases.
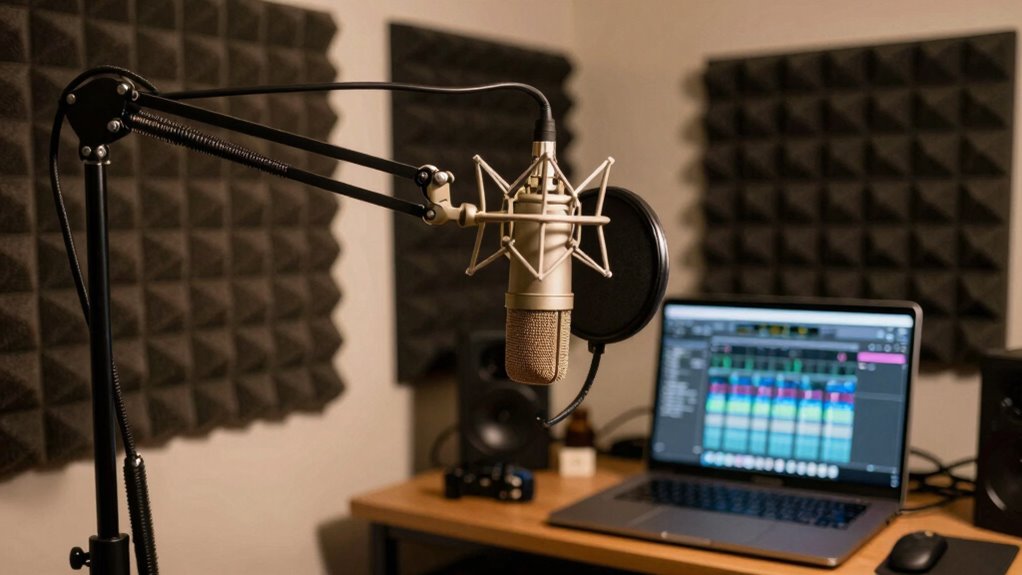
The Fundamentals of Microphone Placement and How They Affect Your Sound
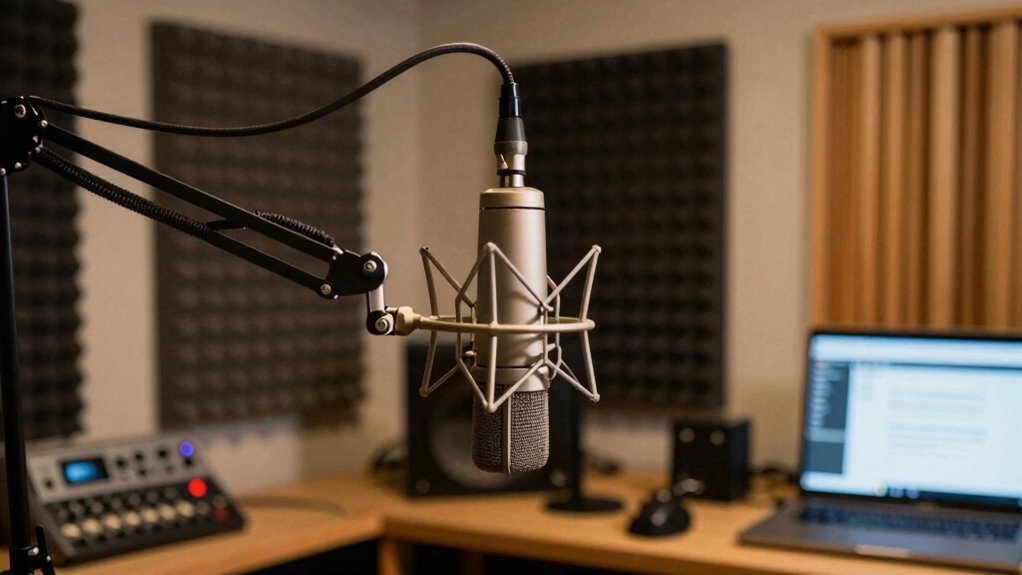
Proper microphone placement is essential because it directly impacts the clarity, tone, and overall quality of your recordings. Your choice of polar patterns determines how much sound from different directions your mic captures, affecting warmth and isolation. For example, cardioid mics focus on sound directly in front, reducing room noise, while omnidirectional mics pick up more ambient sound. Placement also influences phase cancellation, which occurs when sound waves from multiple sources or mic positions interfere, causing thin or hollow recordings. To avoid this, keep microphones aligned and at appropriate distances from the sound source. Understanding these fundamentals helps you minimize unwanted effects and achieve a balanced, professional sound, even in a home studio environment. Additionally, using innovative portable restroom solutions can enhance your outdoor recording experience by providing comfort and convenience.

Aokeo Professional Microphone Pop Filter Mask Shield For Blue Yeti and Any Other Microphone,Mic Dual Layered Wind Pop Screen With Flexible 360° Gooseneck Clip Stabilizing Arm
- Double Layered Pop Filter: Blocks air blasts and disperses pressure
- Universal Compatibility: Fits various microphone stands and booms
- Flexible Gooseneck: Adjustable for optimal positioning
As an affiliate, we earn on qualifying purchases.
As an affiliate, we earn on qualifying purchases.
Vocal Microphone Placement Tips for Home Recordings
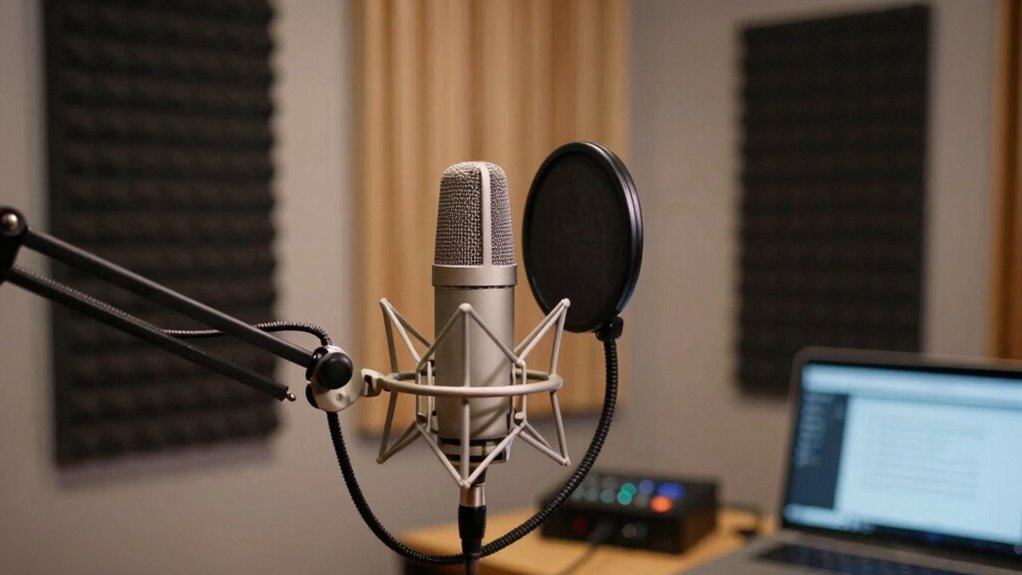
To get the best vocals in your home studio, focus on mic placement that captures your voice clearly without picking up unnecessary room noise. Use creative microphone techniques, like adjusting the angle or distance, to control vocal tone and reduce room reflections. Position the mic about 6-12 inches from your mouth, slightly off-axis to avoid plosive sounds. Experiment with proximity to enhance vocal performance dynamics—closer for intimacy, further away for a natural sound. Consider using a pop filter to minimize plosives and improve clarity. Small adjustments in mic placement can dramatically impact the warmth, brightness, and overall quality of your vocals. By fine-tuning your setup, you’ll achieve a professional sound without complex equipment or studio space.

InnoGear Mic Stand Tripod Boom Arm Floor Microphone Stand Height Adjustable
- Adjustable Height: 28.1 to 89.8 inches
- Heavy Duty Support: Upgraded load-bearing structure
- Stable Tripod Base: Thickened steel for stability
As an affiliate, we earn on qualifying purchases.
As an affiliate, we earn on qualifying purchases.
Positioning Instruments for Clearer, More Professional Recordings
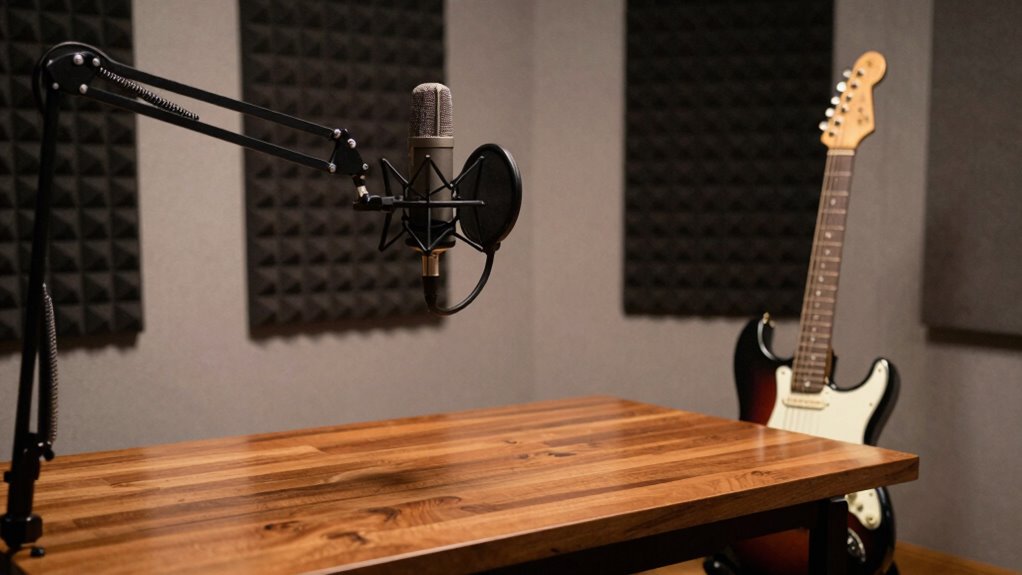
Just like adjusting your microphone placement can enhance vocal clarity, positioning your instruments thoughtfully makes a significant difference in your recordings. Proper instrument positioning guarantees each element is balanced and clear. Start by placing your instrument where it naturally resonates best, minimizing unwanted noise. Pay attention to microphone orientation; angle it toward the instrument’s sound source to capture full detail. For strings or percussion, position the microphone slightly above or in front, aiming directly at the source. For keyboard or synthesizers, keep the mic close to capture richness without capturing too much room ambiance. Consistent instrument placement helps create a cohesive mix, making your recordings sound more professional. Remember, small adjustments to instrument positioning and microphone orientation can dramatically improve clarity and overall sound quality. Additionally, just as microchipping pets ensures their safety during storms, thoughtful placement can safeguard your sound quality.
Common Microphone Placement Mistakes: And How to Fix Them
One common mistake is placing the mic too close or too far from the source, which can distort the sound or make it lose clarity. Ignoring room acoustics can cause unwanted echoes or dead spots that affect your recording quality. To fix these issues, experiment with mic distance and treat your space to improve sound balance and clarity. Additionally, understanding smart choices for acoustics can greatly enhance your overall recording environment.
Improper Mic Distance
Have you ever recorded a track only to find your vocals sound distant or muffled? Improper mic distance is a common mistake that affects sound quality. When you’re too far from the mic, your voice loses presence, and background noise can seep in, reducing sound isolation. Conversely, placing the mic too close can cause distortion and unnatural tones. To optimize microphone ergonomics, find a sweet spot where your voice sounds clear and balanced. Use consistent distance to maintain even sound capture. Remember, adjusting the mic distance properly helps avoid muffled or overly bright recordings. It’s about striking a balance that captures your voice naturally while minimizing unwanted room noise. Proper mic placement at the right distance guarantees your recordings sound professional, even in a home studio setting. Additionally, consider how landscaping to enhance natural beauty can affect sound quality by minimizing echoes in your recording environment. High refresh rates can also improve your overall audio experience by ensuring clearer vocal reproduction during playback.
Ignoring Room Acoustics
Ignoring room acoustics can substantially diminish your microphone’s effectiveness, leading to recordings that sound dull, echoey, or muddy. When you neglect room reflection, sound bounces off walls, creating unwanted echoes that interfere with clarity. Without proper sound absorption, these reflections become even more pronounced, muddying your recordings. To improve your sound, consider adding acoustic panels or diffusers to reduce reflective surfaces. Using bass traps can help manage low-frequency muddiness caused by room resonance. Additionally, incorporating stylish shades can enhance your room’s decor while contributing to better acoustics. Positioning your microphone away from reflective surfaces also minimizes unintended room influence. By addressing room reflection and implementing sound absorption techniques, you’ll capture cleaner, more professional recordings without costly upgrades or studio space. Ultimately, understanding and managing your room’s acoustics makes a noticeable difference in your home studio quality. Upgrading your setup with high-performance components can further enhance your overall sound experience.
Room Treatments to Improve Your Microphone Sound

Room treatments are essential for capturing clear, professional-quality sound when recording at home. They help control room resonance and prevent unwanted echoes that muddle your recordings. To improve your microphone sound, consider these key treatments:
- Acoustic panels – Absorb sound reflections and reduce room resonance. They are particularly effective when combined with goal setting to ensure your recording space meets your specific needs. Additionally, using inclusive design in your treatment layout can create a more accessible environment for all users. Incorporating studio setups that optimize panel placement can further enhance sound quality. Furthermore, using car protection techniques in your setup can help ensure that your gear remains in excellent condition while you record.
- Bass traps – Place in corners to manage low-frequency build-up.
- Diffusers – Scatter sound waves to create a more natural environment.
- Soundproofing techniques – Seal gaps and add mass to walls to block external noise.
Additionally, understanding how room acoustics influence sound quality can significantly enhance your recordings.
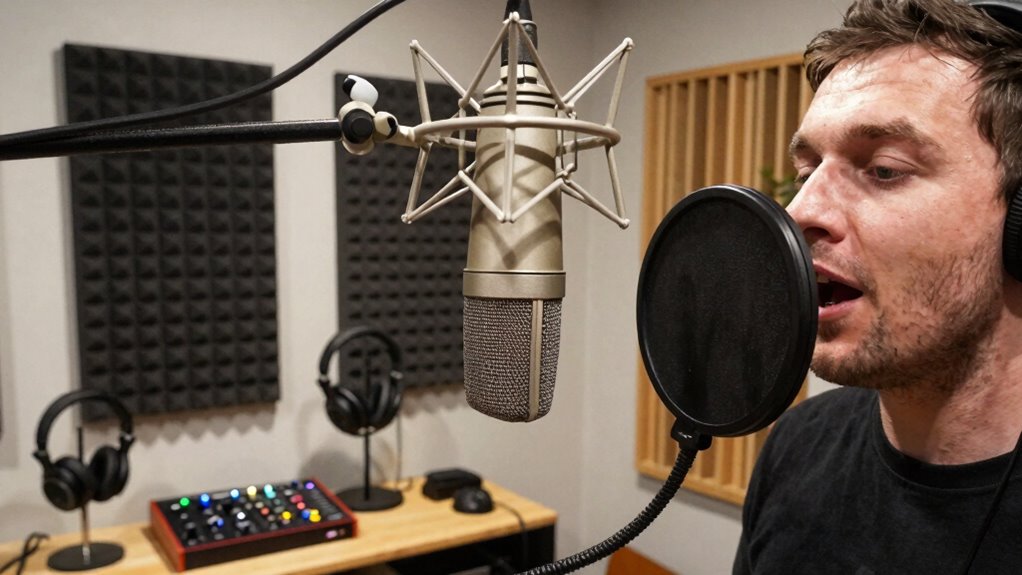
Adjusting Microphone Placement for Different Recording Styles
Adjusting microphone placement is essential because different recording styles demand specific techniques to capture the best sound quality. For vocals, you might want to position the mic closer to reduce ambient noise and focus on clarity, with the microphone oriented directly at the singer’s mouth. When recording instruments, consider the sound source’s direction and the room’s acoustics; angling the microphone can help minimize unwanted ambient noise. For ambient or environmental recordings, place the mic further away, capturing more of the space’s natural sound, and adjust the microphone orientation to emphasize or soften certain elements. Always experiment with placement and orientation to find the sweet spot that best suits your style, balancing clarity and ambient noise for the perfect recording.
Troubleshooting Microphone Sound Quality Issues
When you notice your microphone recording sounds dull, distorted, or inconsistent, it’s essential to troubleshoot promptly to identify the root cause. First, check the microphone’s sensitivity settings—if it’s too sensitive, it can pick up unwanted noise, while low sensitivity might miss details. Additionally, goal-setting techniques can help you systematically address each issue. Second, examine your environment for wind noise or air drafts that can cause unwanted sounds; using a pop filter or windscreen can help. Consider using smart locks to secure your recording space, preventing interruptions from unauthorized access. Third, inspect your cables and connections for loose or damaged parts, which can degrade sound quality. Regularly maintaining your equipment is similar to ensuring your dog’s routine checkups, as it helps you catch problems before they escalate. To preserve your recording gear in the long run, consider implementing water damage prevention strategies that protect your equipment from spills or moisture. Finally, test the microphone on different devices or with different software to rule out hardware or software issues. Addressing these points will help you pinpoint problems and improve your sound clarity quickly. Additionally, consider how comfort and safety products can enhance your recording environment by reducing distractions and ensuring a stable setup.
Must-Have Accessories to Upgrade Your Home Studio Mic Setup
To improve your home studio mic setup, investing in key accessories can make a big difference. Acoustic treatment essentials help control reflections, while quality mic cables guarantee clear audio transmission. Portable isolation shields provide focused sound capture and reduce background noise, giving you a professional edge. Additionally, incorporating essential home safety tips into your studio setup can enhance both your comfort and productivity. Emerging trends in fan engagement strategies highlight the importance of creating a dynamic environment, which can also apply to your recording space. Remember, using proper tools for your projects ensures not only better results but also safety during your recording sessions.
Acoustic Treatment Essentials
Acoustic treatment is essential for creating a clean, accurate sound environment in your home studio. Proper acoustic panel placement helps control reflections and echoes, making your recordings clearer. To improve your setup, consider these essentials:
- Diffusers – Scatter sound waves to reduce flutter echoes and maintain natural room tone.
- Bass Traps – Place in corners to absorb low frequencies and prevent muddiness.
- Acoustic Panels – Mount on walls at ear level, optimizing acoustic panel placement for creative microphone techniques.
- Reflection Filters – Use around your microphone to minimize room noise and enhance direct sound quality.
With these accessories, you can experiment with creative microphone techniques and achieve a professional sound without a pro studio. Proper acoustic treatment transforms your space into a recording haven.
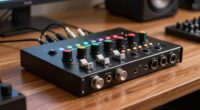
Quality Mic Cables
Upgrading to high-quality mic cables can make a noticeable difference in your home studio’s sound clarity and reliability. Good cables guarantee a clean, noise-free signal, so your recordings sound professional. Look for cables with solid microphone durability—built to withstand daily use and accidental pulls without breaking or losing connection. Quality cables also simplify cable management, reducing clutter and preventing tangles that can cause damage or signal issues. Investing in well-made cables means fewer replacements and consistent performance over time. Proper cable management not only keeps your workspace tidy but also helps maintain your gear’s longevity. With reliable, durable mic cables, you’ll experience clearer recordings and a more organized setup, making your home studio feel more professional every time you hit record.
Portable Isolation Shields
A portable isolation shield is an essential accessory that can dramatically improve your home studio mic setup by reducing unwanted background noise and echo. Unlike a fixed soundproof booth, these shields are lightweight and easy to move, making them perfect for various recording spaces. They help focus your voice and minimize room reflections, resulting in clearer recordings. Here are four reasons to contemplate one:
- Portable and lightweight for flexible placement
- Reduces ambient noise and echo
- Enhances sound quality without building a soundproof booth
- Compatible with most microphones and setups
Investing in portable isolation shields transforms your home studio into a more professional-sounding space, even without a dedicated soundproof booth. They’re an affordable, practical upgrade that makes a significant difference.
Experimenting and Fine-Tuning Your Microphone Placement

Once you’ve set up your basic microphone placement, the next step is to experiment and fine-tune to find the perfect sound. Try different creative microphone angles to capture unique tonal qualities and add depth to your recordings. Move the mic closer or farther from your source to control the level of ambient noise and achieve dynamic sound shaping. Don’t hesitate to tilt, rotate, or even slightly adjust the height—small changes can make a big difference. Listen carefully to each adjustment, and trust your ears to guide you. This process helps you discover the sweet spots that best suit your voice or instrument, giving you more control over your final sound. With patience and curiosity, you’ll develop a placement style that elevates your recordings to professional quality.
Frequently Asked Questions
How Do I Prevent Microphone Bleed From Other Instruments?
To prevent microphone bleed from other instruments, focus on microphone isolation and soundproofing techniques. Use directional mics, like cardioid or hypercardioid, to target your instrument while reducing background noise. Position the mic close to the sound source, and add acoustic treatments like panels or blankets to absorb sound. These methods help minimize bleed, ensuring a cleaner recording and a more professional sound without needing a pro studio.
What Are the Best Microphone Placements for Recording Drums at Home?
For recording drums at home, start with a dynamic microphone like the Shure SM57 close to the snare for clarity, and a condenser mic like the Rode NT1-A overhead to capture the cymbals and overall kit. Use soundproofing techniques such as foam panels and bass traps to reduce echo and bleed. In a small space, experiment with microphone angles and distances to find the best sound without overwhelming your room noise.
How Does Microphone Polar Pattern Influence Placement Decisions?
Your microphone’s polar pattern directly influences your placement strategies. Cardioid patterns focus on sound from one direction, so you position them facing the source to reduce background noise. Omnidirectional patterns pick up sound equally around, so place them where they capture the full environment. Bidirectional mics are great for capturing two sources, like vocals and guitar. Understanding these polar patterns helps you choose the right placement for clear, professional recordings without a pro studio.
Can Room Acoustics Affect Microphone Placement Effectiveness?
Yes, room acoustics greatly affect microphone placement. Room reflections can cause unwanted echo or muddiness, so you need to take placement carefully. Acoustic treatment, like foam panels or bass traps, helps control reflections and improves sound quality. By placing your mic away from reflective surfaces and using treatment strategically, you guarantee clearer recordings, making your home studio sound more professional without needing a pro studio.
How Do I Choose Between Dynamic and Condenser Microphones for Different Recordings?
Choosing between dynamic and condenser mics depends on your recording environment and sensitivity needs. If you want to capture every nuance, go condenser—they’re like the mic that whispers secrets. For loud, energetic sources or noisy rooms, dynamic mics are your sturdy, no-nonsense friends, less sensitive to ambient noise. So, consider your environment and desired detail; the right choice turns your recordings from amateur to pro.
Conclusion
With the right microphone placement, you can achieve professional-quality sound right at home, even if you’re just starting out. Don’t worry if it takes some experimenting to get it just right—practice and patience pay off. Remember, small adjustments can make a big difference, so keep refining your setup. Ultimately, your unique space and style matter most, so trust your ears and keep tweaking until your recordings sound as polished as those from a pro studio.